Are you drowning in a sea of ghost branches? Have you ever scrolled through your local Git repository only to be overwhelmed by a convoluted tangle of orphaned branches? You’re not alone. Unused, stale, or obsolete branches can quickly amass in our workspace, creating a breeding ground for confusion and chaos. As developers, maintaining a clean and organized local repository is essential for efficient and error-free work. This blog post offers easy-to-follow steps on how to safely prune those redundant local Git branches that have lost their ties to the remote upstream. It’s time to trim away the excess, and clear the path for cleaner code and smoother collaboration.
If you are short of time, jump straight to this section. Otherwise, enjoy reading and follow along my tutorial to gain a deep understanding.
Table of Contents
- Project Setup
- Add Changes From A New Branch
- Merge And Delete The New Branch
- Rinse and Repeat!
- One Last Branch Before Pruning
- Let The Pruning Begin!
- Here Is How To Safely Prune Stale Local Branches
- Summary
Project Setup
Start by setting up a test repository, which offers a safe playground for your experiments. For instance, I’ve created a GitHub repository called hello-git. You’re welcome to fork this repo for your use. Alternatively, you can create a new one to your liking. Here’s how to proceed.
- Start by creating a new repository on GitHub. This can be either public or private, depending on your choice. For instance, I have created a repository which I’ve named zezutom/hello-git
- On your local system, create a new directory to serve as the root of the project.
mkdir hello-git01 && cd "$_"3. Next, let’s add a README file to our project directory and push it to the repository.
echo "# hello-git" >> README.md
git init
git add README.md
git commit -m "first commit"
git branch -M main
git remote add origin git@github.com:zezutom/hello-git.git
git push -u origin main
Add Changes From A New Branch
Create a new branch, let’s call it branch-01 for simplicity.
git checkout -b branch-01Append a line to the README.
echo "## hello from branch-01" >> README.mdCommit the change and push the branch to the repository.
git add README.md
git commit -m "readme updated"
git push -u origin branch-01
Merge And Delete The New Branch
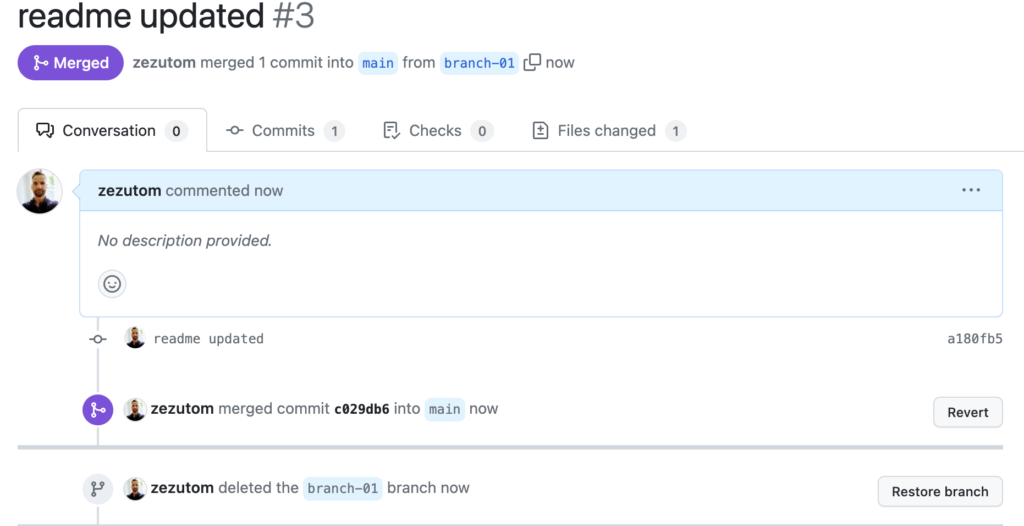
Now is the time to merge the changes from branch-01 to the main branch and delete branch-01. Since we want to simulate what typically happens when collaborating on a project with other developers, let’s submit a pull request and delete the temporary branch once it’s merged.

Rinse and Repeat!
Start with fetching the latest changes from the main branch of your repository. This ensures that your local copy stays in sync with the latest remote updates, hence minimizing the risk of conflicts.
git checkout main && git pullFor the next steps, we’re going to make changes to our project similarly to what we’ve done before, and then create a pull request.
Let’s append a line to the README.
echo "## hello from branch-02" >> README.mdNow, commit the change and push the local branch up to the remote repository.
git add README.md
git commit -m "readme updated"
git push -u origin branch-02
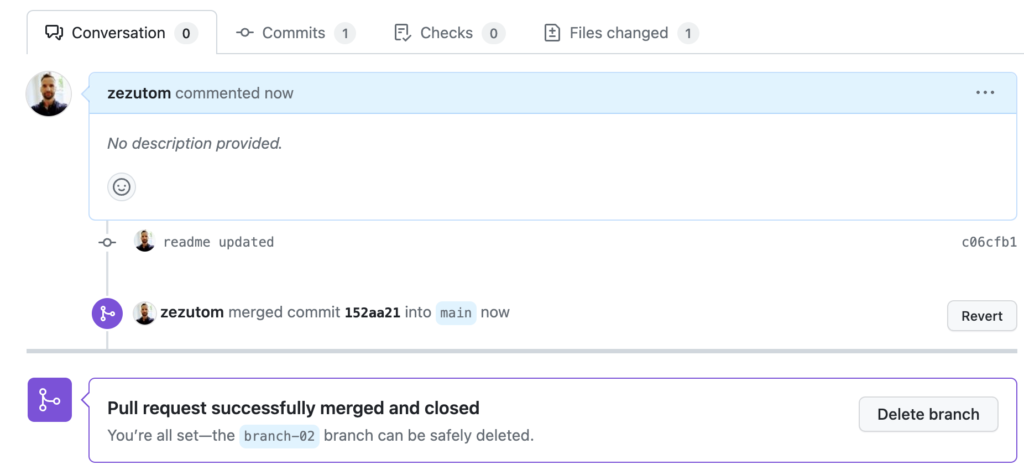
Make a new pull request, merge it, but this time though, don’t delete the temporary branch after the merge.

One Last Branch Before Pruning
Finally, we’re going to create one more branch, make changes to the README file, and then push that branch to the repository – without creating a pull request.
First, create the new branch.
git checkout main && git pull
git checkout -b branch-03
Next, make similar changes as previously.
echo "## hello from branch-03" >> README.mdLastly, commit the changes and push the branch to the remote repository.
git add README.md
git commit -m "readme updated"
git push -u origin branch-03
Let The Pruning Begin!
First, let’s see which branches exist both remotely and locally.
git checkout main
git branch
You should see an outcome similar to this one.
  branch-01
  branch-02
  branch-03
* main
Now, some of these branches are stale. How do we identify them?
Check For Stale Branches
Start with fetching the remote repository along with information about deleted branches.
git fetch -p && git branchThe outcome now includes information about deleted branches.
From github.com:zezutom/hello-git
 - [deleted]         (none)     -> origin/branch-01
  branch-01
  branch-02
  branch-03
* main
The command git fetch -p essentially does two things.
git fetchon its own retrieves all the branches from the remote repository, including all data associated with their corresponding commits. It does not alter your existing local branches.- The
-por--pruneoption deletes any remote-tracking branches that no longer exist on the remote repository. Stale references corresponding to deleted branches on the remote repository are thus removed locally.
Next, we want to automate the identification of stale local branches. Using the git fetch command, let’s loop over the deleted branches and identify the corresponding local counterparts.
git fetch -p && for branch in $(git for-each-ref --format '%(refname) %(upstream:track)' refs/heads | awk '$2 == "[gone]" {sub("refs/heads/", "", $1); print $1}');do echo $branch; doneThe outcome in this case it the name of the local branch that corresponds to the deleted origin/branch-01.
branch-01Let’s dissect this fairly long command to understand how it works.
git for-each-ref --format '%(refname) %(upstream:track) refs/heads: This command goes through all the references (i.e., branches, tags, etc.) in your local repository. With the--formatflag, it customizes how the command’s output is to be displayed.%(refname)is the full name of the reference;%(upstream:track)shows the tracking status of the branch.refs/headsrestricts the format to branch-type references.| awk '$2 == "[gone]" {sub("refs/heads/", "", $1); print $1}': This code usesawk, a text-processing language that’s typically used for data extraction and reporting.awktakes the output from the previous command as its input.'$2 == "[gone]"'checks the second field of each input line (the tracking status of the branch), and if it’s"[gone]", it executes the following{}block. In that{}block,sub("refs/heads/", "", $1)removes the"refs/heads/"prefix from the full branch name (which comes from$1, the first field of the input), andprint $1prints the modified branch name.for branch in $(...); do echo $branch; done: This is a shellfor loopthat goes through the output of the command substitution$(...)and echoes (displays) each of them.
In essence, this long command will fetch updates from the remote repository and display the names of local branches that are tracking remote branches that have been deleted.
Safely Prune The Stale Local Branches!
Replace the last part of the one-liner from the previous section with a deletion.
# ; do echo $branch; done
; do git branch -d  $branch; done
Now, it’s important to understand the difference between -d and -D options when dealing with branch deletion.
The git branch -D command forcefully deletes a specified branch in your Git repository. The -D option stands for --delete --force, which means it will delete the branch regardless of its merge status. Meaning, this command deletes a branch even if it hasn’t been fully merged into its upstream (!). Be cautious when using forceful deletion, as you might lose any commits on the branch that are not in the upstream.
Using git branch -d is a safer option, as it prevents the user from deleting a branch that hasn’t been fully merged. I would suggest using git branch -d most of the time and switching to git branch -D only when you are completely sure you want to delete the branch and potentially lose changes that haven’t been merged.
Here Is How To Safely Prune Stale Local Branches
To summarize, the command that safely removes orphaned local branches is as follows.
git fetch -p && for branch in $(git for-each-ref --format '%(refname) %(upstream:track)' refs/heads | awk '$2 == "[gone]" {sub("refs/heads/", "", $1); print $1}'); do git branch -d $branch; doneApplied to our case, running the command yields the following output:
Deleted branch branch-01 (was a180fb5).Now, in a different project, running the same command yields the following result:
error: The branch 'fix/issue-010' is not fully merged.
If you are sure you want to delete it, run 'git branch -D fix/issue-010'.
error: The branch 'feat/issue-001' is not fully merged.
If you are sure you want to delete it, run 'git branch -D feat/issue-001'.
Why? Well, it’s a larger project and over time I’ve accumulated changes that haven’t been merged. Since I’m applying a safe option when deleting my local branches, the command failed giving me a chance to save my work before I decide to delete everything.
Summary
In this post we looked at how to increase developer’s productivity by removing stale local branches. We reviewed various options, explained the key decisions and conducted a one-liner to enrich your developer’s toolkit.